First Quarantine Haircut

I finally got my first quarantine haircut! I can’t remember the exact date of my last cut, but I believe it may have been in late February. I usually get haircuts every 3-4 months and typically one around my birthday (in March) so I can start my new year fresh. Due to the pandemic, salons have been closed in San Francisco for some time and I was not able to stay on my usual schedule. Salons started to open up a few weeks back and I was beginning to shop around and brainstorm where my first quarantine haircut would take place. My friend Nerrissa was supposed to host a small quarantine birthday celebration which included outdoor haircuts on her balcony, but the recent fires caused terrible air quality, and the event had to be rescheduled. We were finally able to meet this past weekend and it was such a treat!

Nerrissa and hairstylist Jenna coordinated so that a few of us could safely get quality cuts. It was a beautiful Sunday morning and the event was held from 10:00 AM - 2:00PM. Jenna specializes in dry haircuts so each of us arrived with our hair dry and straightened. It was my first time ever getting a cut like this and I was excited to try a new technique! My hair is naturally very wavy, so whenever I get a haircut, I have the stylist straighten it at the end to check that all the lines are clean and balanced. Doing so ensures that the overall shape is precise regardless of the way it’s styled. Although I usually straighten my hair after a new haircut, it was my first time doing so in the beginning, but the process makes sense because we wear our hair dry.

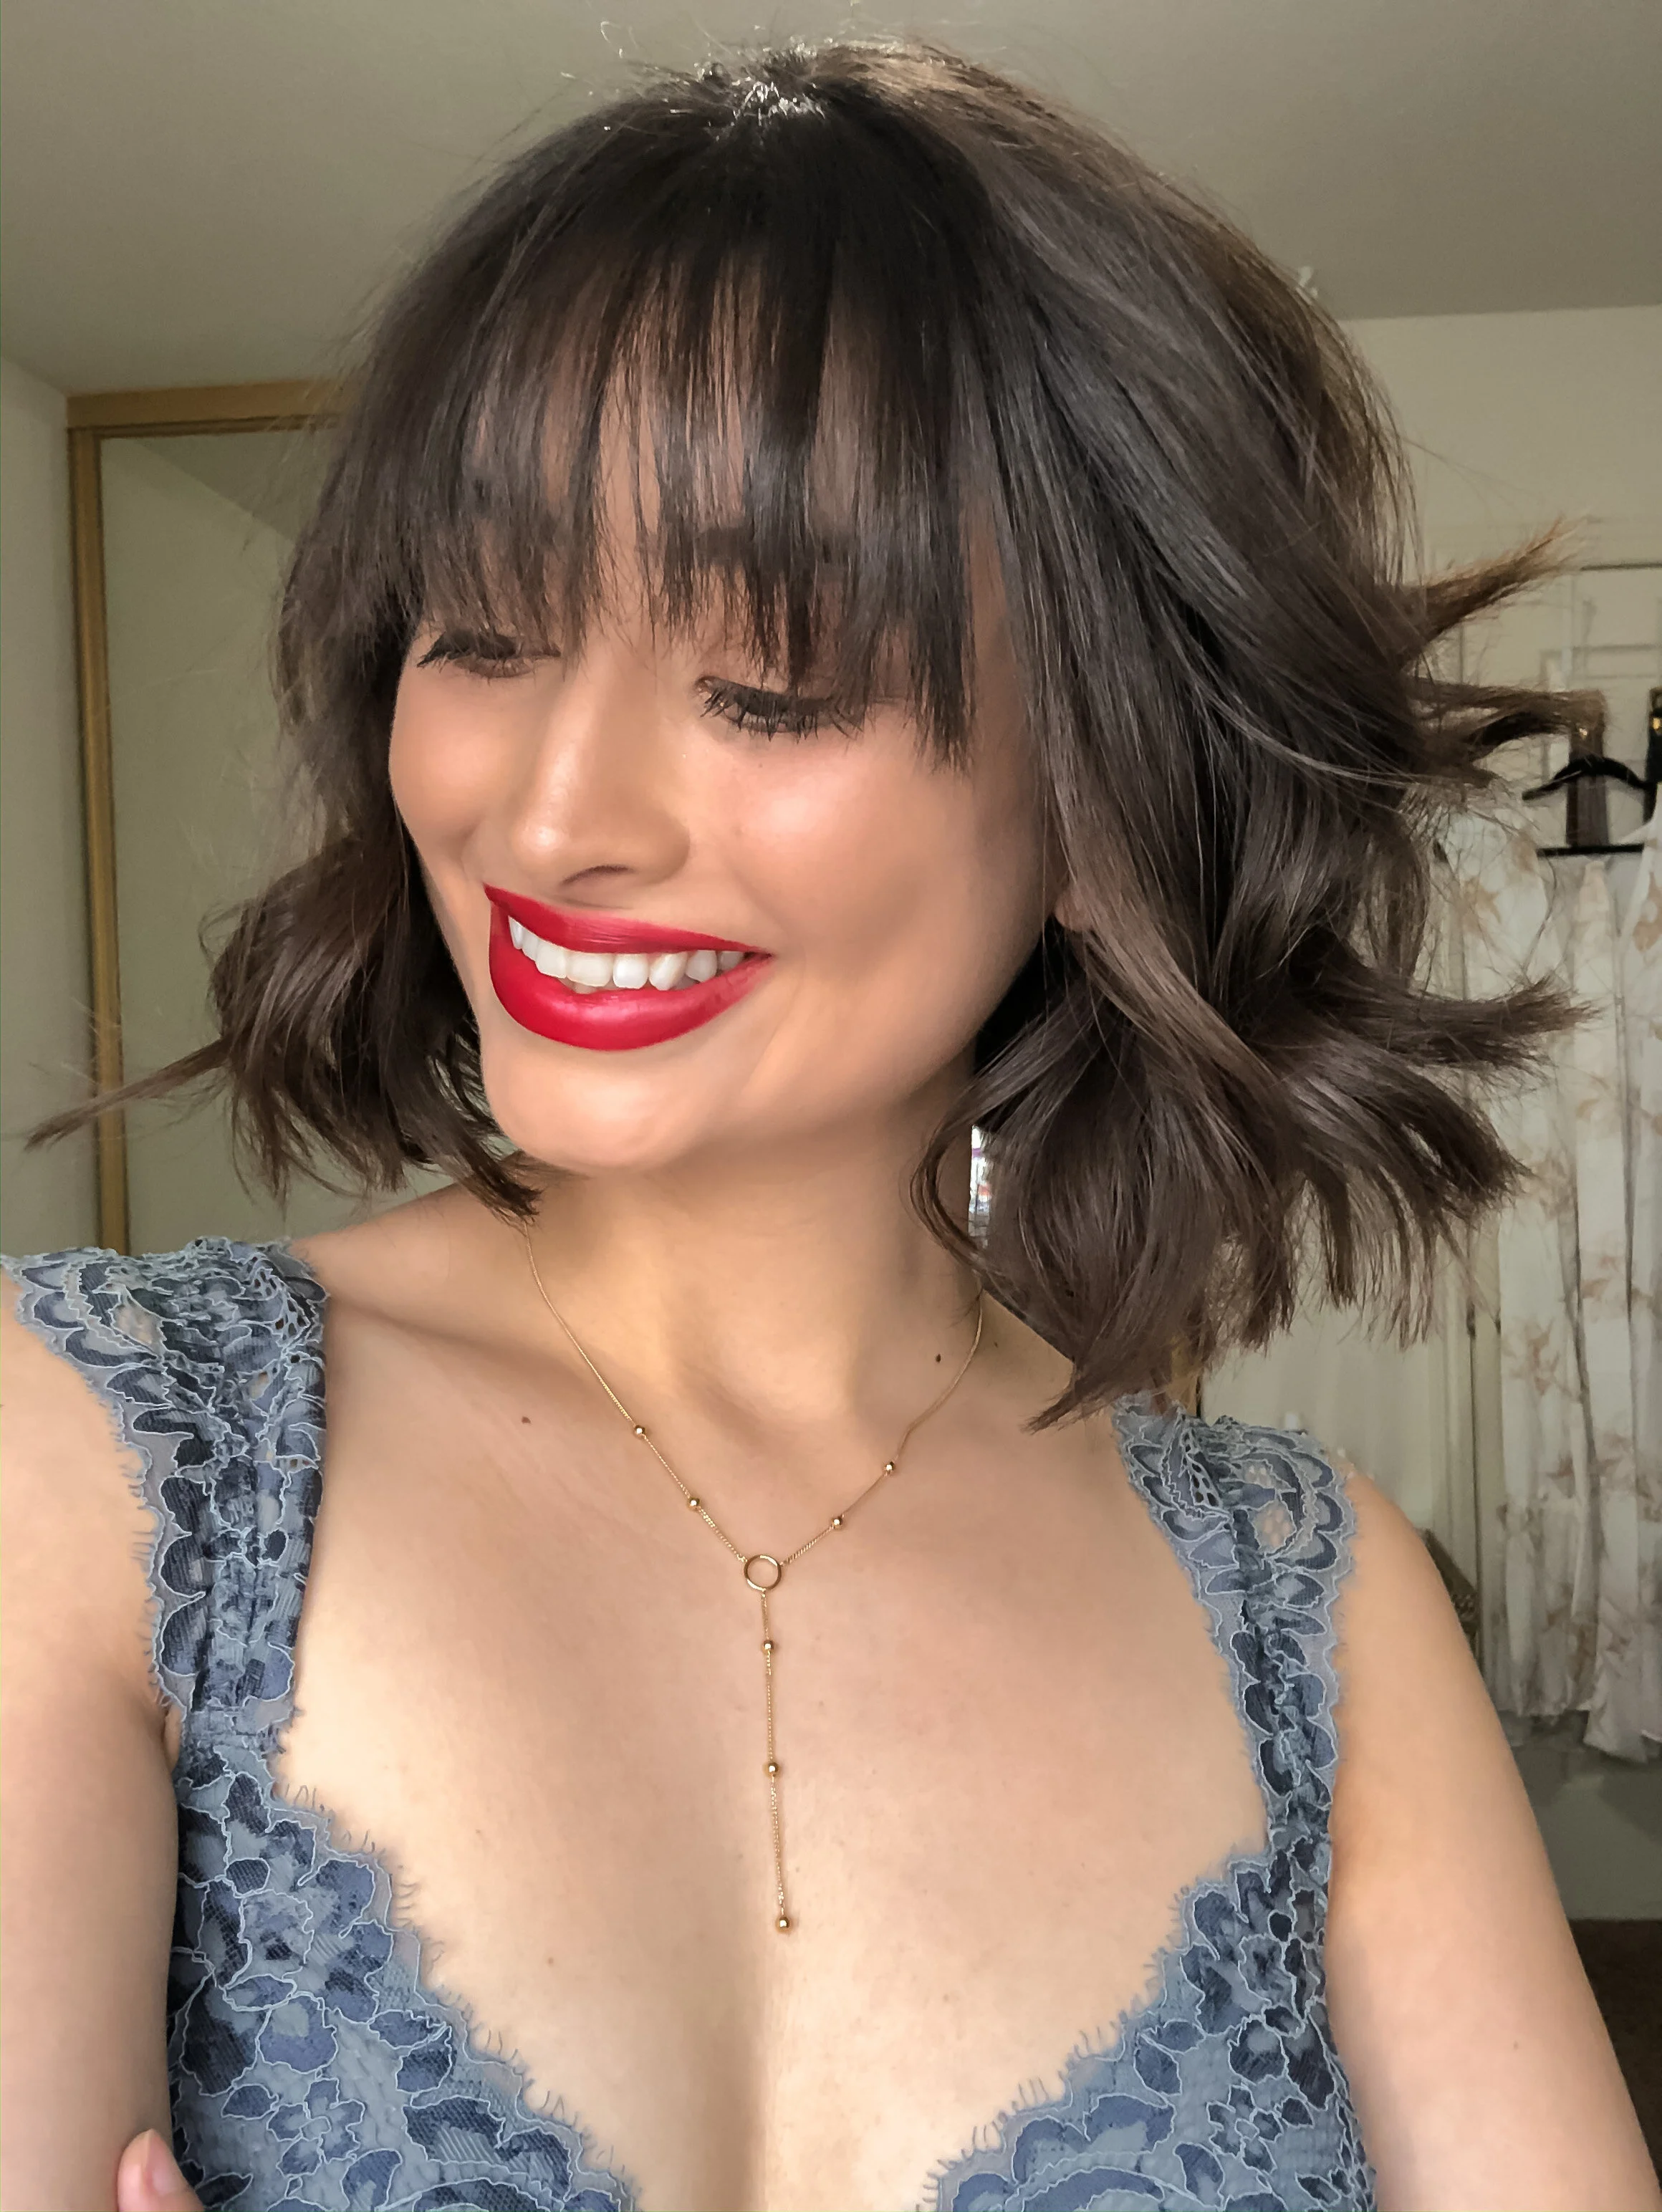
After 2.5 years with a short bob, this year I decided that I am ready for a new look. I love short hair, but since I don’t dye my hair anymore, changing the length is one of the only ways for me to sport a new look. Right now, I don’t have any stringent long-term hair goals, but decided to go for a medium length. My new look is described as a blunt lob (long bob) with curtain bangs and micro layers that add movement and a thicker feel. In addition to updating my shape and cutting off my dry ends, she was also able to fix my lop-sided bangs. The way my bangs grew out was one of my biggest insecurities and frustrations because they changed my preferred part and did not lay nicely. I’m so happy to have them fixed! I will likely keep this length and style for a while until I decide what’s next in the lineup! It feels chic, edgy, and gives me a retro 90’s vibe which I love. 

BluntLob.jpg

Loose Waves for Valentine’s Day with Not Your Mother’s

I recently took a survey on Instagram stories to learn what the “go-to” hairstyle is for date night and the most common response was “loose waves”. Valentine’s Day is around the corner, so I wanted to share how I achieve flirty waves with Not Your Mother’s (ad). While my hair is naturally wavy, when I style my hair with a curling wand it transforms my whole look which is fun for a night out, whether it be with friends or a hot date. Today I am sharing all of the tools, products, and techniques that I use to achieve this fun and flirty look.

NYMVEVDay1.jpg
NYMVEVDay2.jpg

Tools:

  • 1-1.5 inch curling wand

  • 1-2 sectioning clips 

  • Blow Dryer (recommended) 

  • Round Brush (recommended) 

  • Large Tooth Comb (optional)

Products:

NYMVDAYblogpic.jpg

Step 1: Spray the All Eyes On Me 10-in-1 Hair Perfector on Wet Hair

I recommend attempting this hairstyle after washing your hair. Once you get out of the shower and your hair is wet, section your hair into 3-4 parts and spray the 10-in-1 Hair Perfector throughout each section. Make sure to spritz some on the ends as well. The 10-in-1 Hair Perfector acts as a heat protectant and keeps your hair moisturized which is imperative when using heating tools. Spread the product through your hair with your fingers or a wide comb.  

Step 2: Blow-Dry with Round Brush

Before getting started with the curling wand, I do recommend blow-drying your hair with a round brush for a cleaner look. Here is a video tutorial I created where I share some tips and tricks on how to achieve a sleek blow-dry.

Step 3: Curling Wand

Overall, you will be separating your hair into 3 equal sections and 1 mini section. Take a visual note envisioning the 3 main sections you will be creating before applying the wand. Starting from the bottom of your head, create the first section from ear to ear. Separate the remaining hair on top of your head and hold it in place with the sectioning clips. Since my hair is short, I start from the top of my ears because it allows me to grab longer hair which is easier. If your hair is longer than mine, you may want to start a bit lower and create 1-2 additional sections so that they are not as thick and will take to the heat faster.

I typically start curling from the front and work my way towards the back in 1-inch sections. Wrap each 1-inch section vertically around the wand from root to tip. The strands that wrap around the wand should begin near the root where the base is thicker. The end of the strands should be on the smaller part of the wand.

Wrap each section of hair around the wand and away from your face. To ensure the hair is being curled away from your face, lay the wand above the strands and wrap your hair in the direction of the wall behind you. Hold the wand to your hair for about 15-20 seconds depending on how thick it is.

Repeat for sections 2 and 3. Section 4 should be very small and only consist of the pieces that surround your part. I like to save these strands for last because they frame my face and add extra volume.

Once you have completed each of the 4 sections, touch up any hair with the wand as needed. I recommend using a second mirror to make sure none of the back pieces are missed. 

Step 4: Lock in Shine and Moisture with the Glisten Up High Gloss Top Coat

Spray a few pumps of the Glisten Up High Gloss Top Coat into your palms. Warm up the product by rubbing your hands together. Add the product to the ends and the inner part of your hair while gently and subtly breaking up the curls with your fingertips. Add the remaining product on the ends of the pieces that frame your face with your fingertips. This top coat ensures that your hair is shiny and moisturized after heat styling. 

Step 5: Solidify the look with She’s a Tease Volumizing Hairspray

Solidify the look and tame flyaways with She’s a Tease Volumizing Hairspray. I like to use the hairspray all over to complete the look. I spray under, inside, and above my hair then gently comb the product through with my fingers. 

I hope you found this loose wave hair tutorial useful! Please let me know if you have any questions. Be sure to tag @vanessaevelynh and @notyourmothers on Instagram in any looks you recreate! We would love to see the results. 

NYMVEVday3.jpg